Rainmarks
Rain Marks How to use
Adam Wilder (MIG Productions)
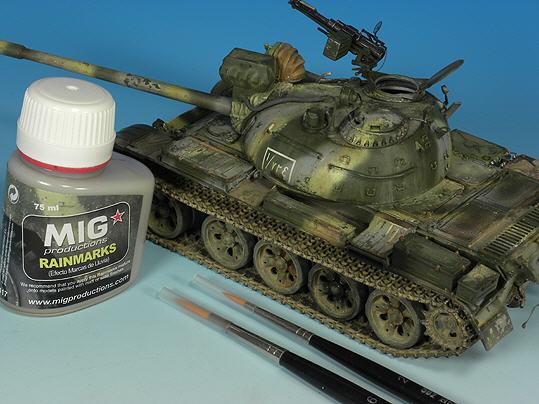
Rain Marks is a subtle weathering technique used. Many modellers Rain Marks stands for dirt streaks caused by rain water on the sides of vehicles or buildings. Rain Marks is also a matte base to use pigments later. This simple step by step guide shows tou how to use Rainmark to make a sublime but important finishing method.
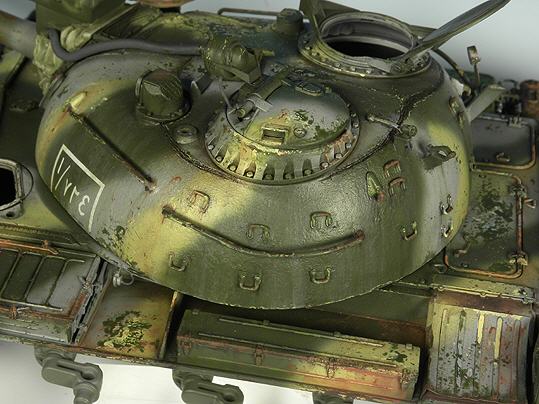
The rain marks the best to be applied depends on the object to which it is applied. For armored vehicles is only used when the oil is well dried but before the pigments are applied.
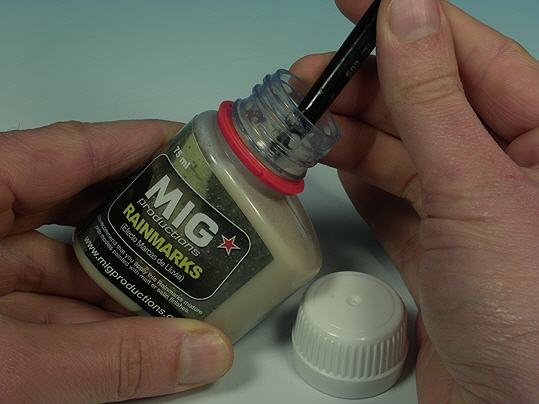
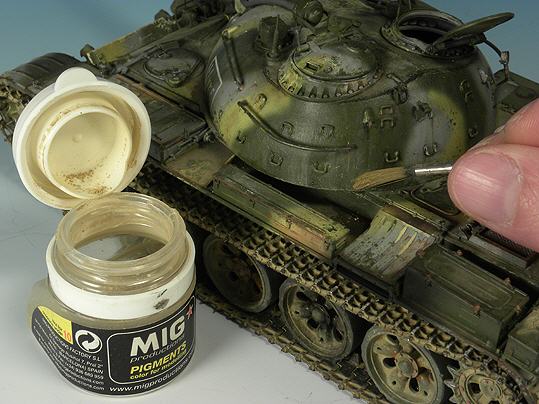
The jar should be at least very well shaken before use. It is recommended to use a clean brush to determine whether there is any residue remain. Bottom of the jar Once the content is moved quite a brush must be shaken well again with the lid on it
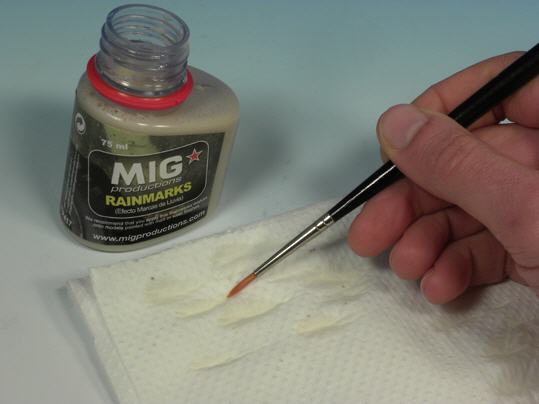
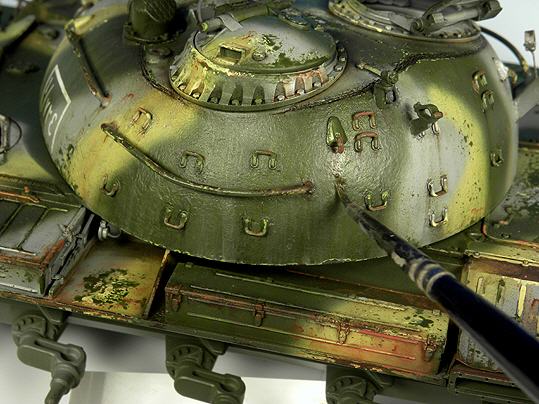
Dip the tip of a brush, for example, a No. 1 or less, in the mixture, and wipe the excess of liquid to a dry cloth.
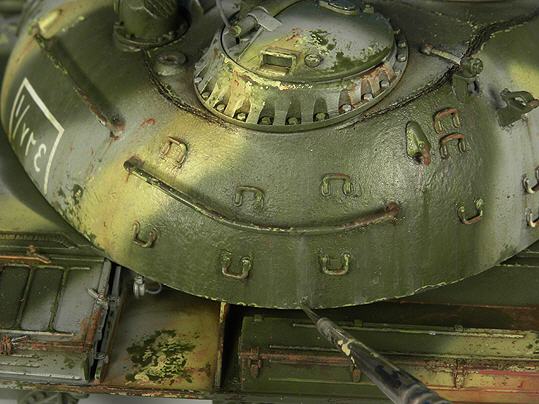
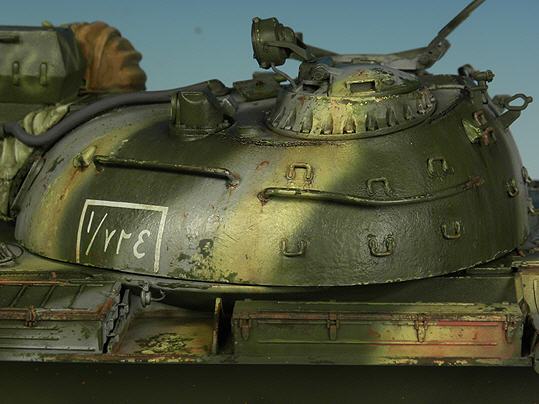
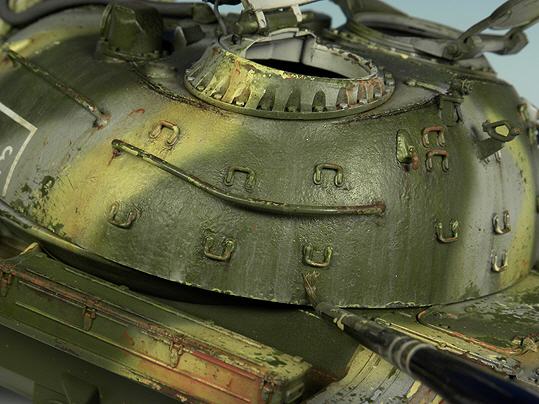
Bring, after the excess fluid is wiped off, Rain Marks in with vertical movement by a pin yellowed side of the model. In the first layer, the stripes make vertijkale until the liquid is complete, after about three layers rain marks are faint streaks of dirt colored paint visible.
The fourth and fifth layer are arranged over a matt layer. All one has to do is new vertical stripes and let it dry. The drying process can be accelerated by a hair dryer or using an airbrush
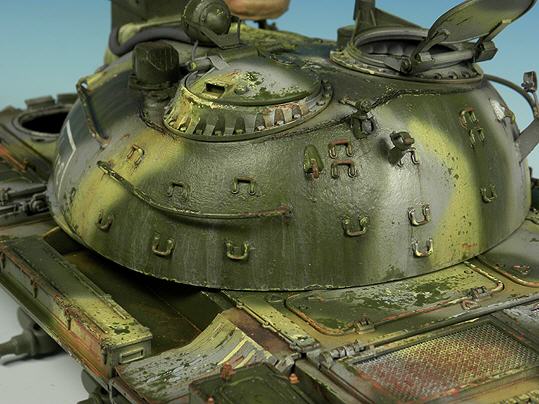
When applying the last layer, the focus is on areas under handles and other places where rainwater will accumulate when it flowed down.
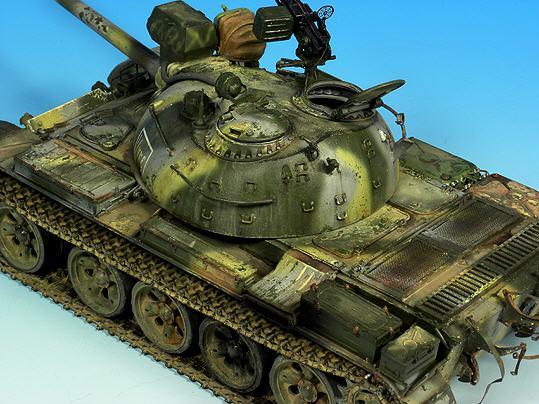
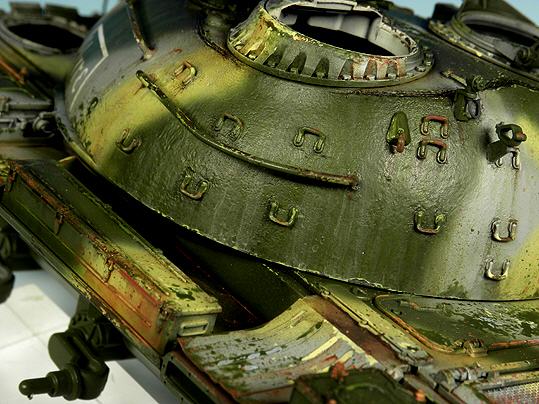
As with most of the techniques, it is intended to be used in combination with other finishes. Pigments can be applied to mask a surplus of Rain Marks
CONCLUSION
The beauty of Rain Marks is that you can build up until the effect is achieved subtle layers Rain Marks can also be used to create dirt buildups on matte surfaces buildup.
It is recommended to experiment with Rain Marks a test model to perfect the effect of this weathering technique first